How to Track Portfolio Website Views and Display Them to Visitors
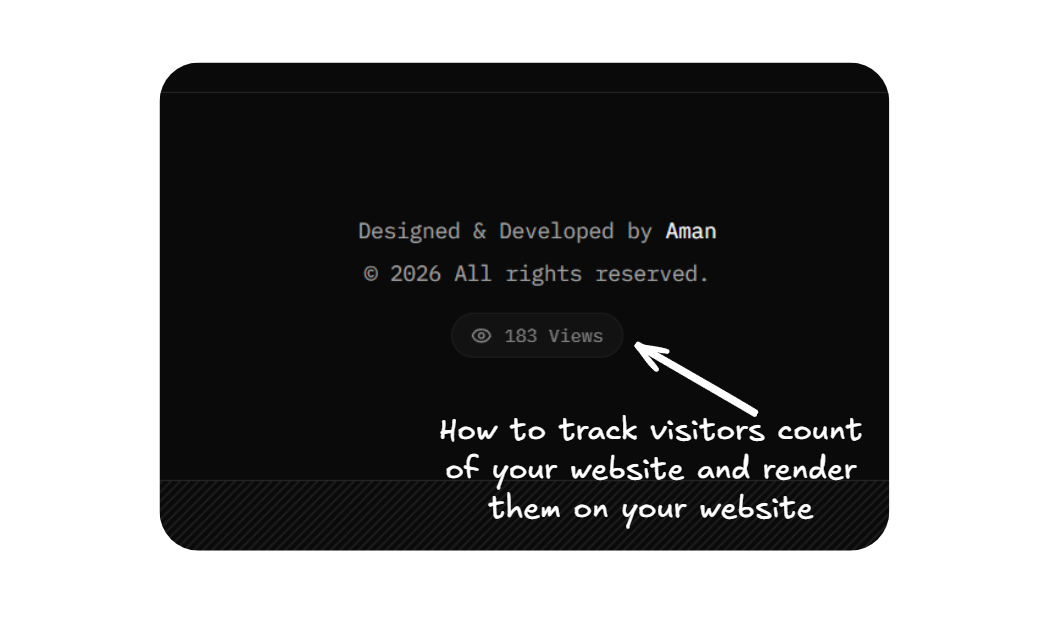
In this blog I am going to show you how you can track views of your portfolio website and show it to the users who visit your portfolio just like this:

When I was creating my portfolio, I didn't know how to track views and show them to users. Then I thought of looking it up on the web by reading blogs and watching YouTube videos, but I couldn't find a reliable source that could teach me how to do it easily and efficiently.
Then I went to ChatGPT and asked how we can track visitors and show them on a portfolio. It explained how to track visitors, display them to users, and why that approach is the best way to do it.
After that, I implemented it myself and made sure that I understood the entire flow and everything properly.
So, in this blog, I'm going to explain how you can implement it step by step.
So, let's get started
Step 1: Using Redis for storing visitor count

For storing the users, we will need a database type thing, but using a database will be a bad approach here, because databases are disk-based, and for performing operations like increment, because we have to increase the visitor count, you have to perform three whole operations.
Suppose you use MongoDB and store this in a document:
{
  "views": 1254
}
Every visit will require:
- Read the document.
- Increment the value.
- Write it back.
That's why we are using Redis here because Redis is an in-memory database and it provides atomic operations like INCR, which is very good for incrementing the visitor count, and using Redis will also ensure that no race conditions occur.
So, initiate a Redis instance from wherever you can; I have used Upstash because it provides a very generous free tier and get the environment credentials from there.
UPSTASH_REDIS_REST_URL=...
UPSTASH_REDIS_REST_TOKEN=...
Step 2: Install @upstash/redis and create redis.ts file
Install the library called @upstash/redis by running this command in the terminal:
npm install @upstash/redis
And then create a redis.ts file inside a lib folder or utils folder, and then write this code inside it:
import { Redis } from "@upstash/redis";

export const redis = Redis.fromEnv();
This will create an instance of Redis class on which you can store count and perform atomic operations.
Make sure that you have pasted the environment variables inside the .env file because the .fromEnv() function takes the env variables from the env file and then creates an instance of the Redis class; this is very important.
Step 3: Create an API route for incrementing the count and reading the count
Now create an API route so that when someone visits the website, it sends a POST request to increment the visitor count and sends a GET request when someone wants to access the visitor count.
Here is the code of it:
// app/api/visitor/route.ts
import { redis } from "@/lib/redis";
import { NextResponse } from "next/server";

export async function POST() {
  const count = await redis.incr("portfolio-visitors");

  return NextResponse.json({ count });
}

export async function GET() {
  const count = (await redis.get<number>("portfolio-visitors")) ?? 0;

  return NextResponse.json({ count });
}
In this code, we are defining a key "portfolio-visitors", and we have created two routes: a POST route for incrementing the value of the visitor count and a GET route for accessing the value of the visitor count.
Step 4: Create components for tracking and showing visitors
Now we will create two components: one for sending a post request, so that whenever a user comes, it sends the post request to the API route and increments the visitor count, and one for accessing the visitor count and rendering it in the UI.
1. Create VisitorTracker.tsx
// components/VisitorTracker.tsx
"use client";

import { useEffect } from "react";

export default function VisitorTracker() {
  useEffect(() => {
    const visited = localStorage.getItem("visited");

    if (!visited) {
      fetch("/api/visitor", {
        method: "POST",
      });

      localStorage.setItem("visited", "true");
    }
  }, []);

  return null;
}
Create this file and write this code in it and add it to your layout.tsx, just like this:
// app/layout.tsx
import VisitorTracker from "@/components/VisitorTracker";

export default function RootLayout({
  children,
}: {
  children: React.ReactNode;
}) {
  return (
    <html lang="en">
      <body>
        <VisitorTracker />
        {children}
      </body>
    </html>
  );
}
This will track the visitor count when someone visits your website.
When someone visits your website, this component gets mounted and the useEffect runs and sends a POST request to the increment route to increase the visitor count.
It also creates an item in the local storage, "visited", which tracks that the user is refreshing the page or coming back again after deleting the website tab.
If a user refreshes while staying on the website, then it does not increase the count; it only increases when someone deletes your website tab and comes again.
This ensures that the visitor count tells us the true visitor count and increases only when someone actually visits your website and not on every refresh.
2. Create VisitorCount.tsx
// components/VisitorCount.tsx
"use client";

import { useEffect, useState } from "react";

export default function VisitorCount() {
  const [count, setCount] = useState(0);

  useEffect(() => {
    async function loadCount() {
      const res = await fetch("/api/visitor");
      const data = await res.json();

      setCount(data.count);
    }

    loadCount();
  }, []);

  return <span>{count.toLocaleString()} visitors</span>;
}
This component will be responsible for showing the visitor count on your website.
You can design this component more beautifully with Tailwind and render it wherever you want on your website.
Whenever someone visits your website and this component gets mounted, then the useEffect will run and it will send a GET request to the API route and get the latest visitor count and render it on the UI.
That's it! You now have an automated, styled visitor counter up and running on your site.
Thanks for stopping by—hope this saved you some setup time!